Right Wing Assembly
 |
| Skeleton Riveted Together |
7/21/12 - Assembled Right Wing Skeleton with clecoes and riveted it together. Cut "L" Angles to size that will fit inbetween the rear ribs, drew a centerline and drilled a starting hole that was 10 mm from the end. Drilled holes in the Bottom Skin (75W6-1) and through the "L" angles. Clecoed "L" angles in place and fitted bottom skin to the wing skeleton. Total Time = 6 hours.
 |
| Drilling Holes to Proper Size |
7/22/12 - Clecoed bottom skin in place and drilled out all holes to the proper size. Installed Inboard Trailing Edge Skin (75W6-3), Outboard Trailing Edge Skin (75W6-4), Inboard Nose Skin (75W5-1), Outboard Nose Skin (75W5-2) and clecoed in place. Dilled out all holes to proper size in the spars and ribs. Clecoed Flaperon Brackets in place and drilled holes in the Flaperon "L" brackets. Total Time = 5 hours.
 |
| All Skins in Place |
 |
| Installed Strut Brackets |
7/28/12 - Installed strut brackets and drilled holes into the bottom skins as well as into the brackets. Set aside brackets to be riveted at a later time. Total Time = 3 hours.
 |
| Adding Cortec Anti-corrosion Material |
7/29/12 - Removed all skins from the wing skeleton and deburred the wing skeleton. Deburred all skins and "L' angles. Cleaned all parts and added Cortec anti-corrosion protection. Reassembled skins to the skeleton with clecoes. installed rivets into the holes and riveted all skins to the bottom of the wing. Total Time = 12 hours.
 |
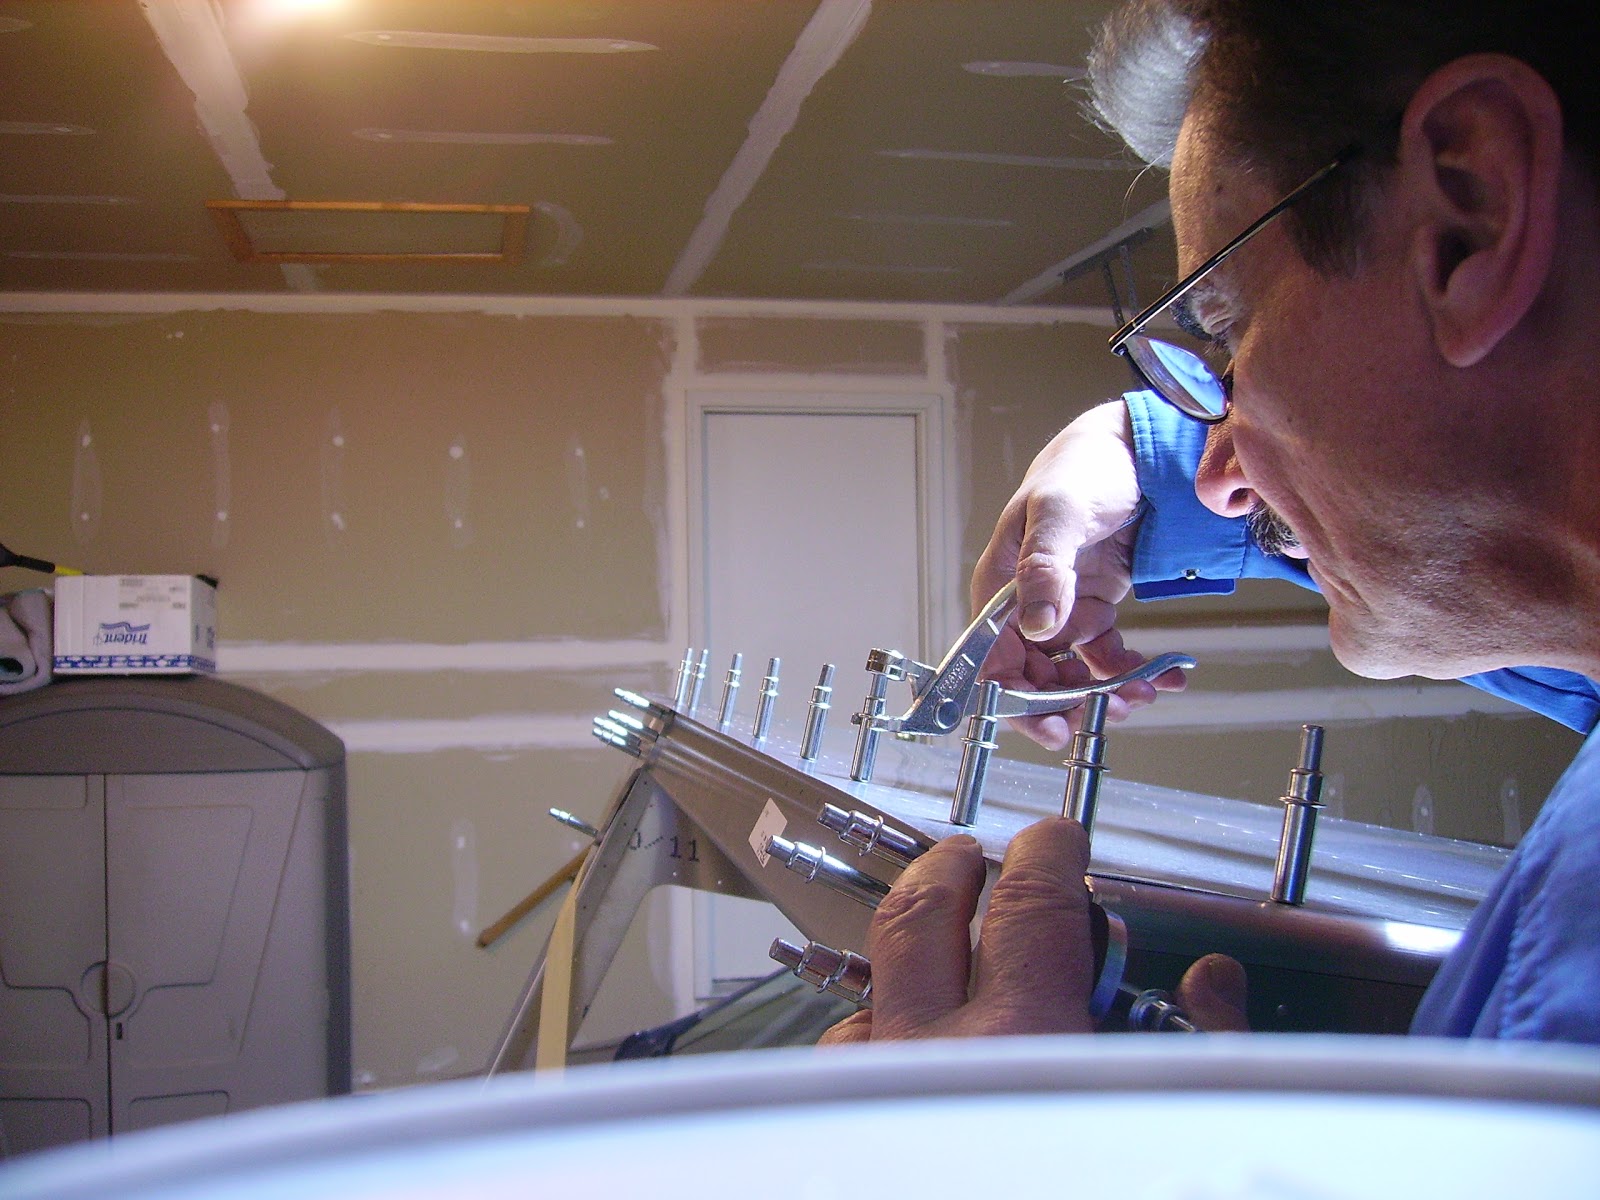
| Riveting the Skins |
 |
| Bottom Skin Riveted in Place |
8/4/12 - Drilled holes in the "L" angles and clecoed them to the underside of the top skin (75W5-4). Clecoed the Flaperon Brackets to the wing skeleton.
 |
| Top Skins Clecoed to Skeleton |
8/4/12 - Installed the top skin and the tank cover skin (75W5-3) to the wing skeleton and clecoed in place. Measured 70 mm from the trailing edge to the flaperon arm. Drilled holes in the trailing edge skin and clecoed in place. Drilled out all of the holes in the top skins to the proper size. Total time = 4 hours.
 |
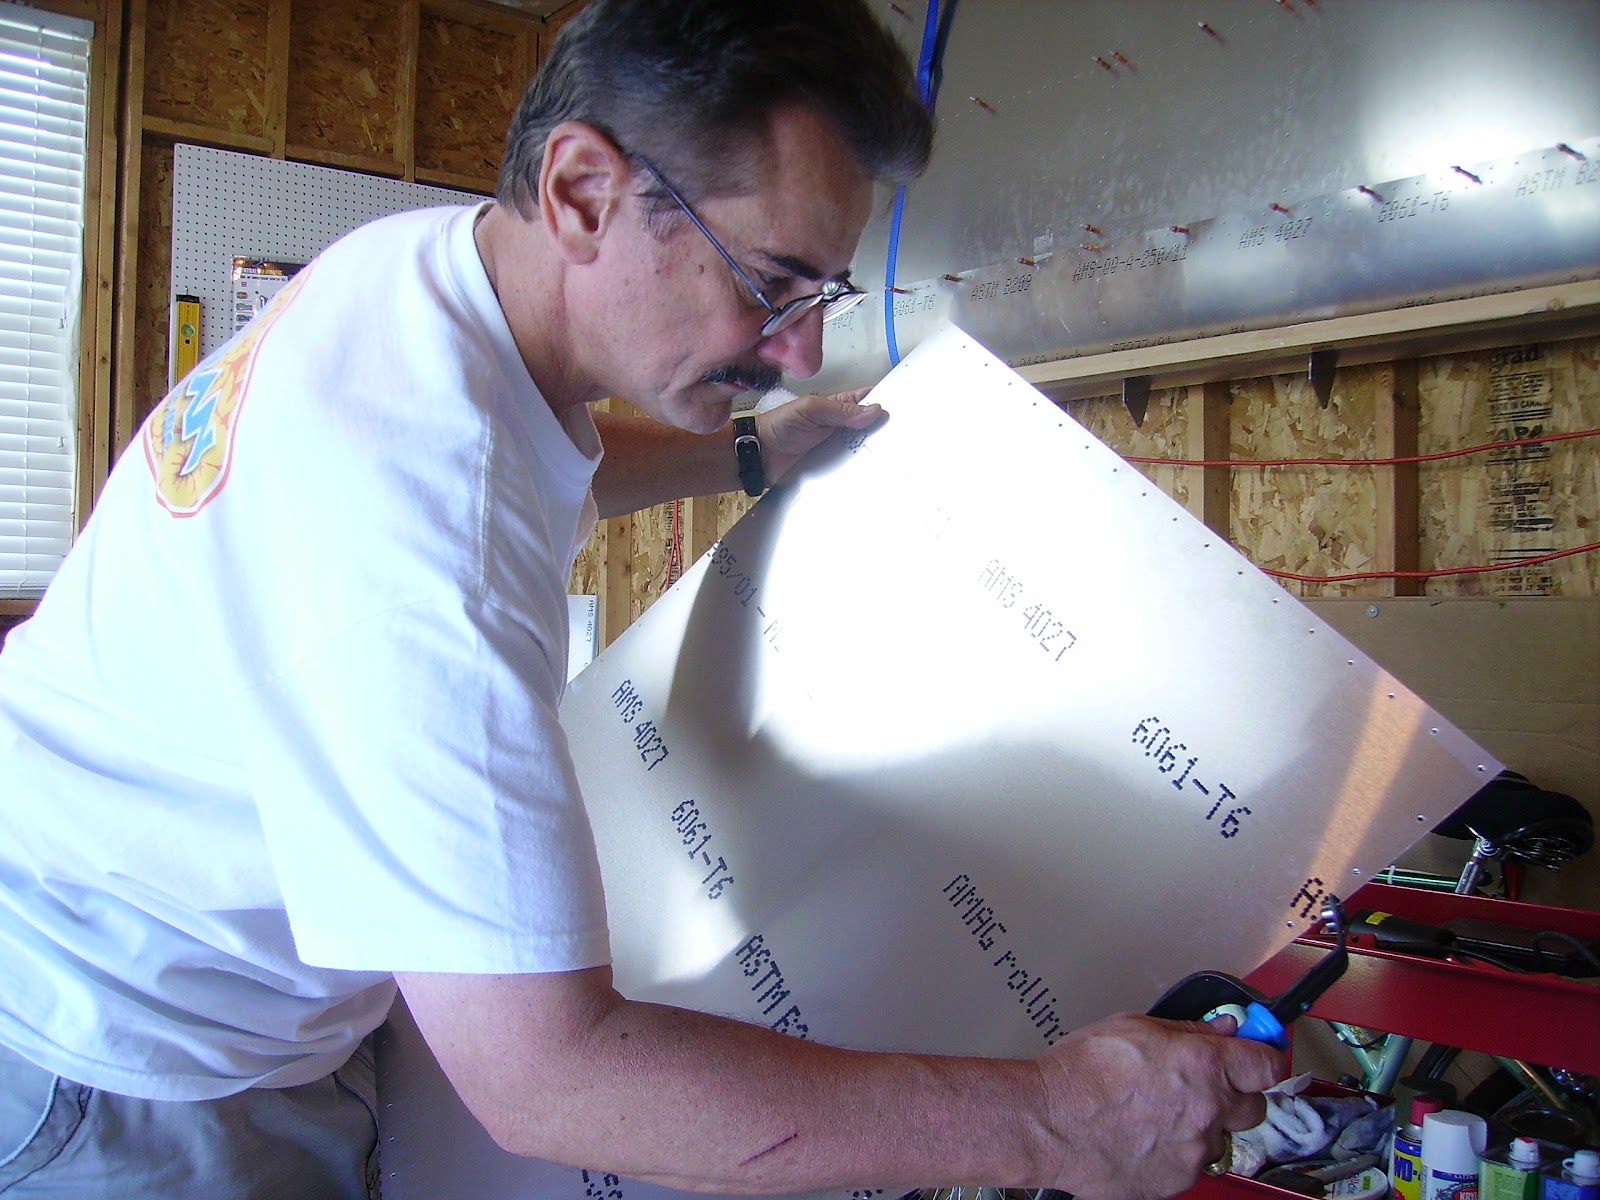
| Leading Edge Top Skin Ready to be Pulled Over Ribs |
8/11/12 - Pulled the Leading Edge over the main wing spar with straps and drilled holes in the skin to the proper size. Removed the top skin, tank cover skin and deburred the wing skeleton. Total Time = 7 hours.
 |
| Deburring Skeleton |
 |
| Deburring Sharp Edges on the Tank Cover Skin |
8/12/12 - Deburred the Top Skin and the Tank Cover Skin and added corrosion protection. Riveted the Flaperon Brackets in place and finished adding corrosion protection to the wing skeleton. Riveted the Tie-Down Bracket and the Rear Attach Bracket to the Wing Skeleton. Total Time = 5 hours.
 |
| Riveting Flaperon Brackets |
 |
| All Brackets Riveted |
9/2/12 - Cut cork to the proper size and applied to the fuel tank. Fitted fuel tank into wing and made adjustments as necessary to get a proper fit. Total time = 5 hours.
 |
| Fuel Tank Fitted Into Place |
9/3/12 - Cut a hole in the fuel tank with a flycutter for the sender unit to fit into. Installed the fuel channel (75K1-2) into the wing skeleton. Installed the tank cover and drilled holes into the fuel channel and cover and clecoed in place. Cut "L" angles and installed them into the wing tip area. Total time = 6 hours.
 |
| Cutting Hole in Fuel Tank with Flycutter |
Installed the Nose Rib (75W4-1) and riveted in place. Installed the Root Rib Doubler (75W4-3) and riveted in place. Flattened one end of the Root Rib Angle ( 75W6-5) and then crimped to follow the curvature of the Root Rib. Installed the Root Rib Top Skin (75W5-5), drilled holes and clecoed in place. Total Time = 7 hours.
 |
Root Nose Rib and Doubler Riveted in Place
|
9/9/12 - Installed the Wing Tip (75W6-8), drilled holes and clecoed in place. Total Time = 3 hours.
 |
| Drilling the Wing Tip and Clecoing in Place |
9/16/12 - Installed the sender unit (226-451D) inside the fuel tank. Installed the Nav/Strobe light in the end of the wing tip. Also enlarged the hole in the bottom of the wing for a better fit for the fuel drain. Total Time = 5 hours.
 |
| The Nav/Strobe Light Installed |
9/21/12 - Attended Zenith's 20th Anniversity Open Hanger Event in Mexico, Mo. Gathered lots of valuable information about painting the aircraft after completion and different engine choices for the CH750. Also attended the Friday night banquet in which Rod Hightower spoke on behalf of the EAA.
 |
| Open Hangar Day |
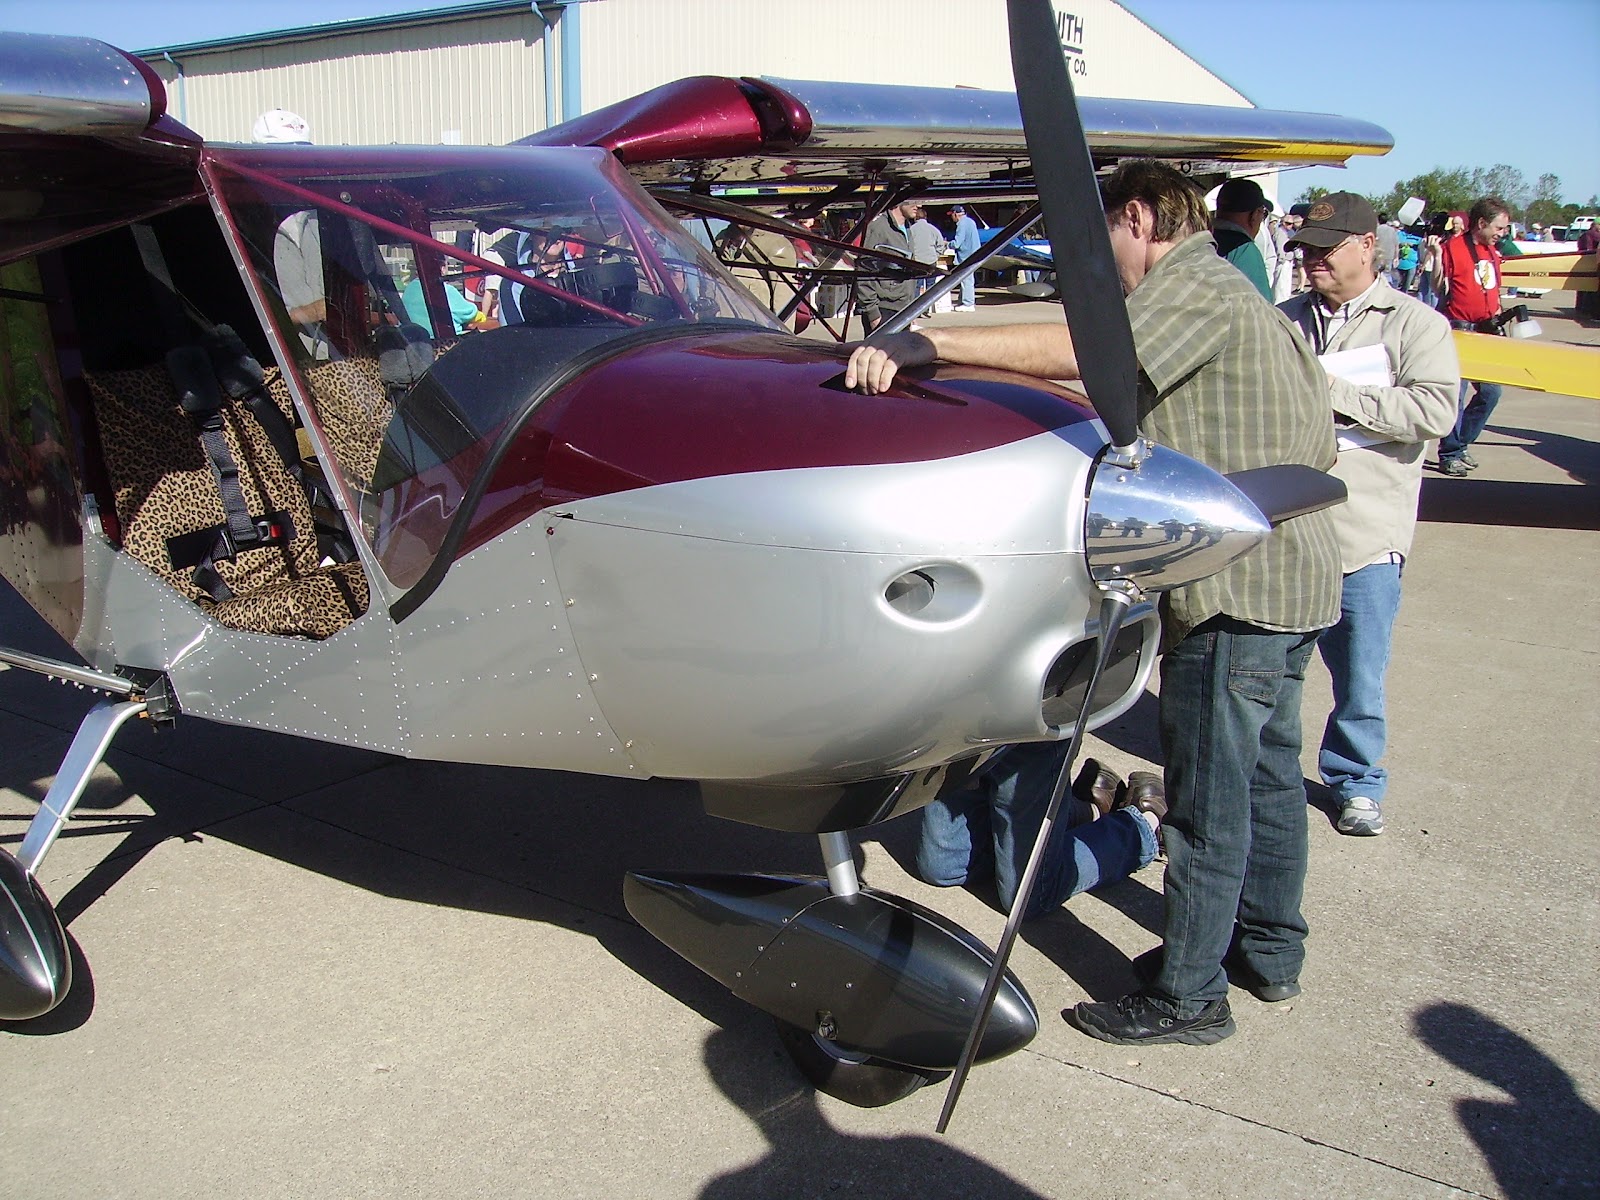
9/22/12 - Had a chance to talk to fellow Zenith builders which was invaluable. Learned more about the Jabiru, UL Power and Viking engines. Was quite impressed with the Viking fuel-injected engine so much so that I decided to take a Demo flight with the owner of Viking, Jan Eggenfellner. After that flight, I was sold. It was very powerful and did not have the vibration that I expected or excessive noise either. I had finally decided on the powerplant for my build!
 |
| Viking Powered CH750 Demo Plane |
9/28/12 - Found out that I could upgrade to Edition 3 CH750 while I was at Zenith last weekend. This upgrade includes a smoked glass aerodynamic top window. Recived the upgrade kit from Zenith today and I can't wait to start installation on Saturday.
9/29/12 - Removed the old Root Rear Rib (75W4-2) by drilling out the bottom rivets and Root Rib Doubler and installed the upgraded Root Rear Rib (75W4-2/1). Total Time = 2 hours.
 |
| Look at the Difference Between Root Ribs |
10/6/12 - Since I have decided on using the Viking engine with a header tank, I installed a pipe plug in the return line port of the fuel tank. Also placed cork on top of the fuel tank so that it doesn't rub on the fuel tank top skin. Installed the new Wing Root Top Skin (75W5-5/1). Total Time = 2 hours.
 |
| New Root Rib Installed |
10/7/12 - Dilled out rivets on the bottom of the wing to accomodate the new Wing Root Nose Skin (75W5-6). Installed new nose skin and pulled tight to drill new holes into the new Wing Root Rib. Drilled all holes to their proper size, deburred, cleaned and applied anti-corrosion protection. Opened up hole in the fuel tank top skin with a file so that it doesn't touch the gas cap. Installed cable clamps into the rear spar for the wiring of the Nav/Strobe & Landing Lights. Total Time = 8 hours.
 |
Cable Clamps in Place
Nav/Stobe Light Wired In |
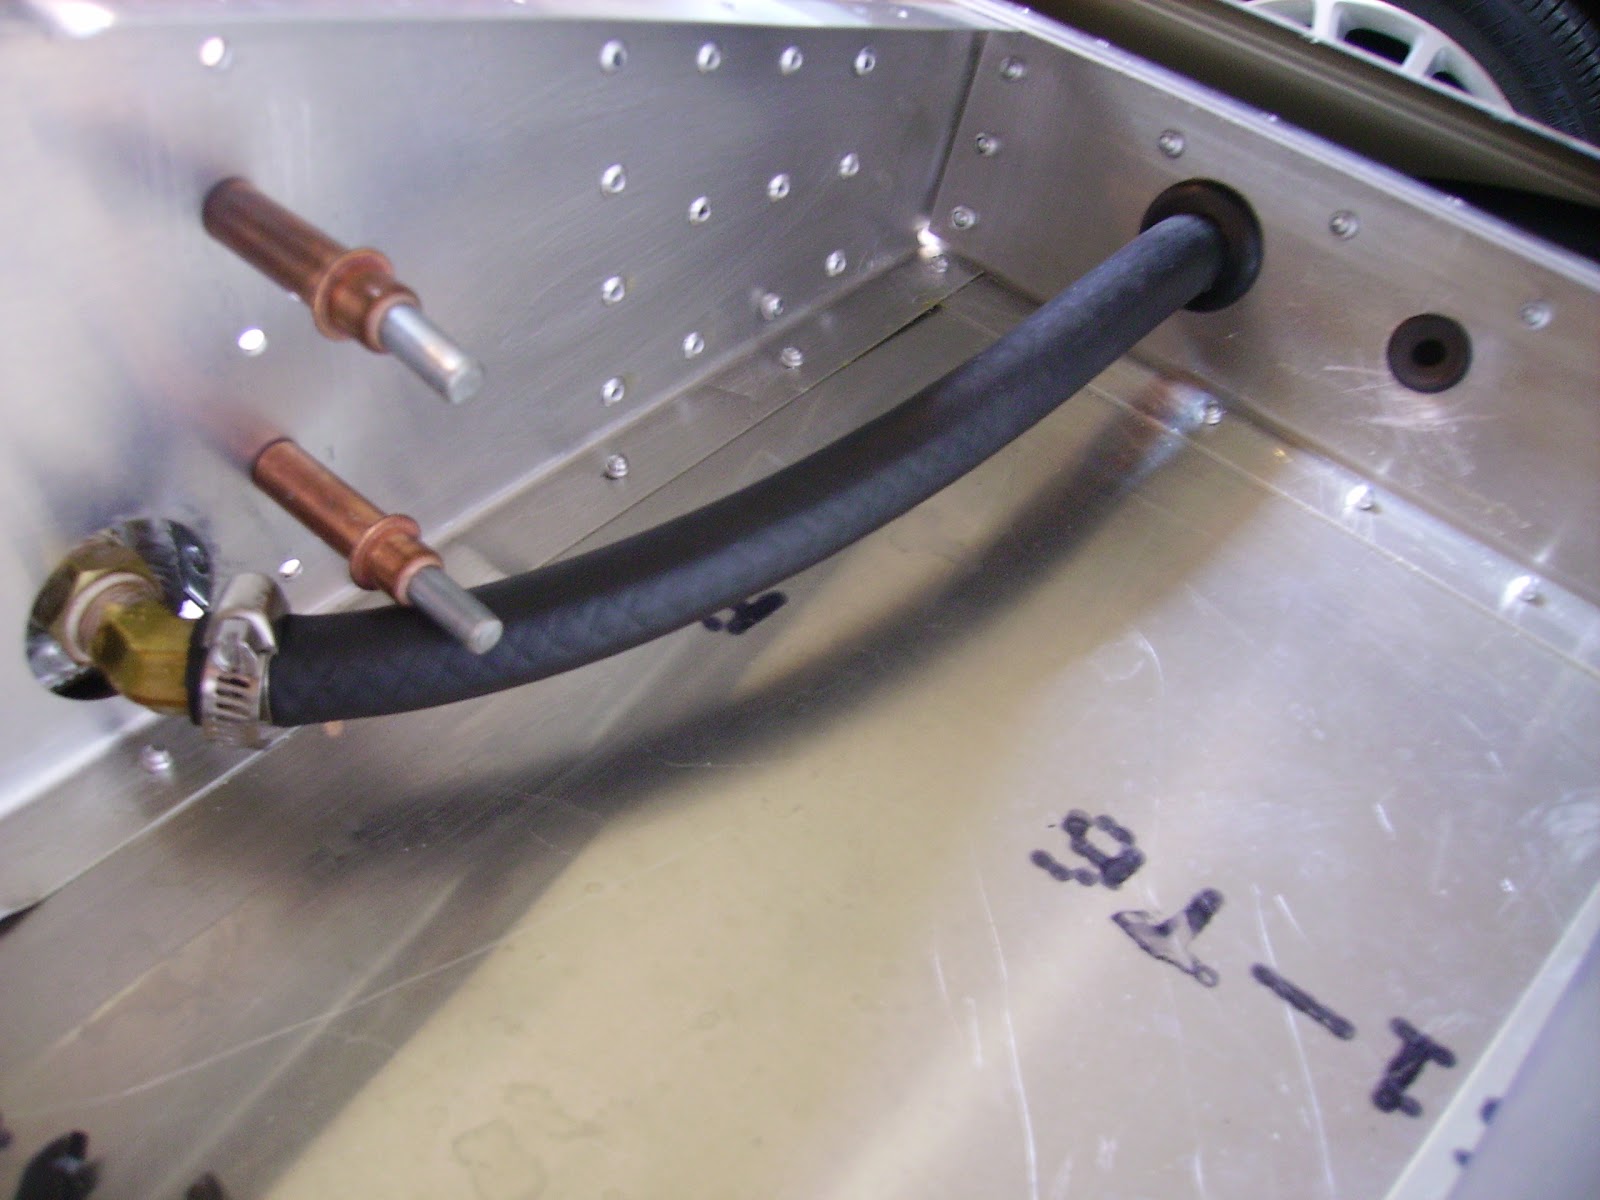
10/20/12 - Opened up hole in the rear spar so the fuel supply grommet could be installed. The fuel hose was then routed through the grommet and exited out the back of the rear spar. Attached the fuel hose to the supply nipple with the supplied radiator style hose clamp. Drilled out machining hole in the rear spar and installed the grommet for the sender unit wire. Wired up the Nav/Strobe light and and verified the continuity of the wires at the root end of the wing. Bolted the strut support bracket into place and riveted the bracket assembly to the bottom of the wing. Total Time = 11 hours.
 |
Fuel Hose Routed from Tank Through Rear Spar
Strut Support Bracket Assembly Riveted to Bottom of Wing |
10/21/12 - Replaced a cracked fiber washer on the fuel tank sender unit attaching screw. Wired up the fuel sender unit and attached the ground wire to the fuel tank grounding lug on the sender unit and the tank. Riveted the ground wires to the root rib. Added more cork to the fuel tank and installed the tank in the wing skeleton. Riveted the fuel channel in place and then pulled the nose skin over with straps and clecoed nose skins in place. Began riveting the nose skin at the top middle part of the leading edge. Total Time = 8 hours.
 |
| Fuel Tank Wiring in Place. |
10/27/12 - Verified the Landing Light wiring. Drilled a hole in the Nose Skin and installed a grommet for the Landing Light wiring to pass through. Finished riveting the rest of the Right Wing. Removed the Left Wing from the brackets on the wall and placed it onto the sawhorses. Hoisted the Right Wing onto the brackets on the wall. Total Time = 7 Hours.
 |
| Landing Light Grommet in Place |
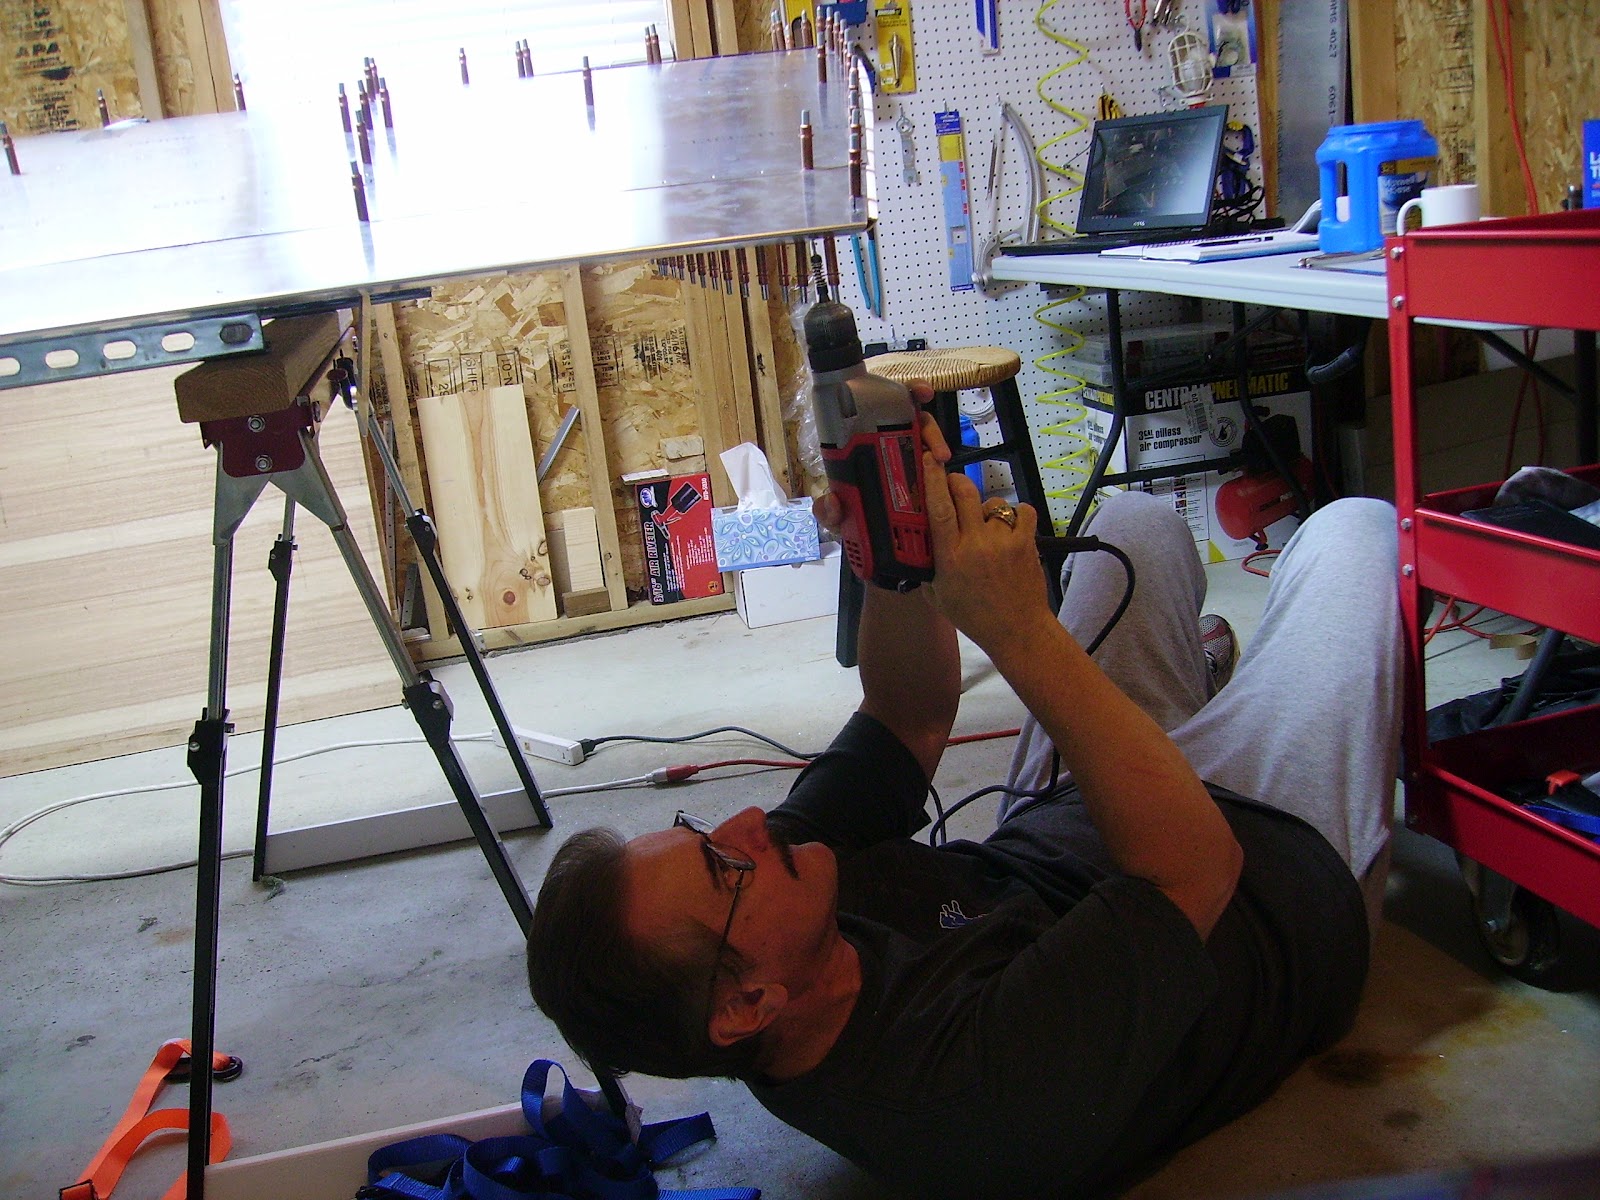
 |
| Completing the Riveting |
 |
Finished Right Wing
Right Wing Hung on the Wall |
Right Wing Total Assembly Time = 122 Hours.