Thursday, May 17, 2012

Wings Continued - Left Wing

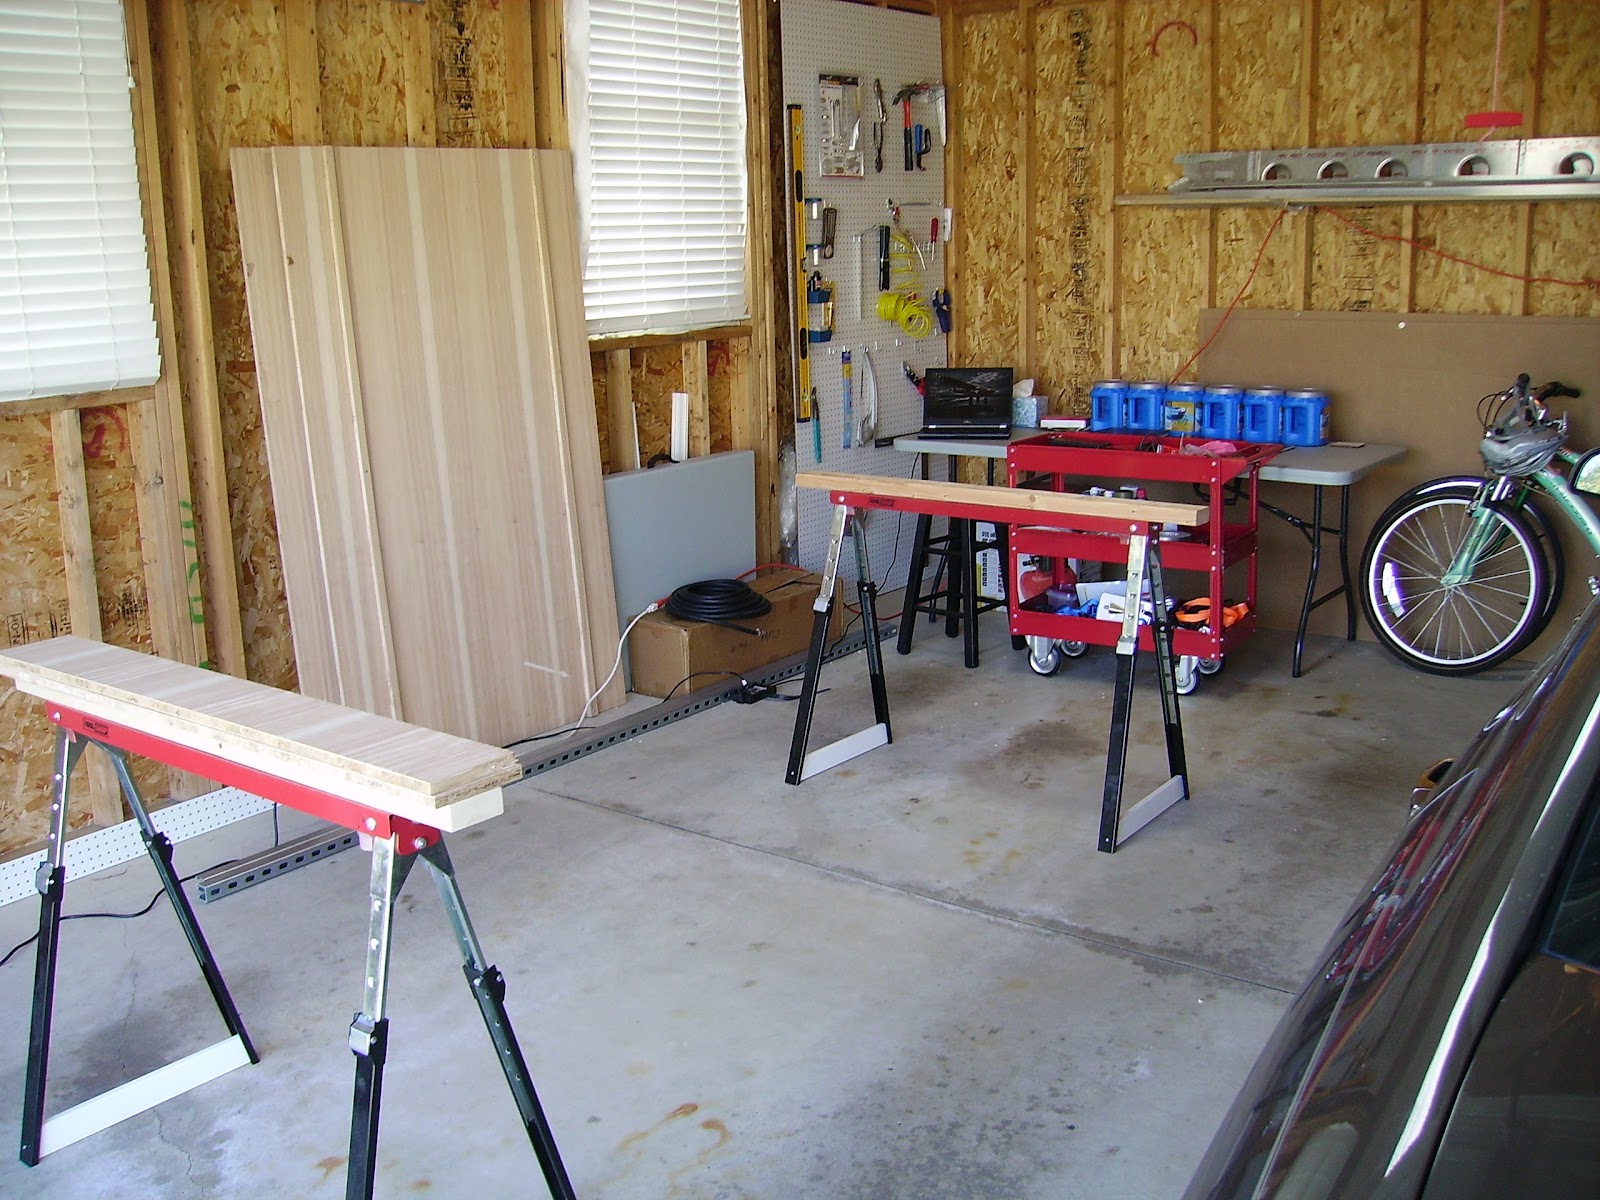
Left Wing Assembly - Moved to the Garage!

Changed to saw horses.


Riveting Skeleton with Pneumatic Riveter

4/8/12 - Assembled Left Wing Skeleton together in the garage with clecoes and prepared to rivet. Riveted entire skeleton together using a pneumatic riveter. Total Time = 4 hours.


Finished Left Wing Skeleton

4/14/12 - Cut "L" Angles to fit in between the rear ribs and drilled then clecoed them to the bottom skin. Attached Inboard Bottom Skin (75W6-1) to the Wing Skeleton. Total Time = 4 hours.


Adding "L" Angles

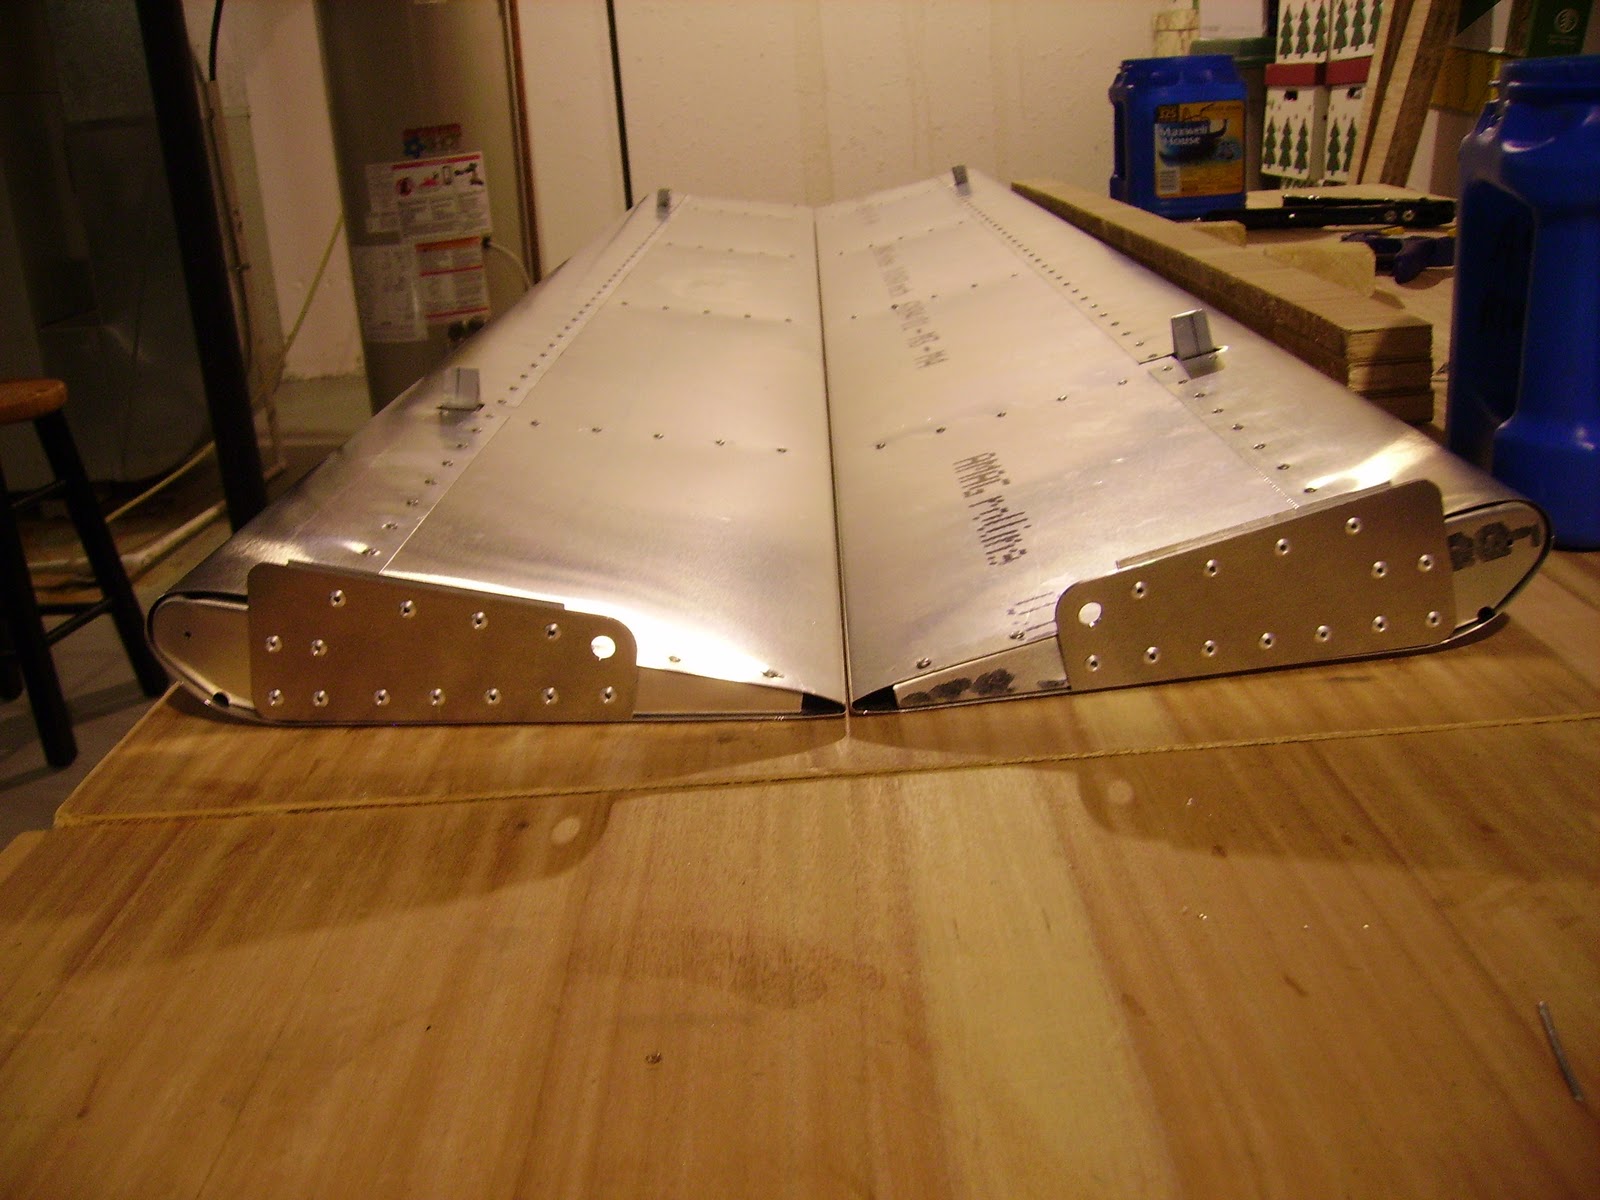
 4/15/12 - Placed Outboard Bottom Skin (75W6-2) on the Wing Skeleton and clecoed in place. Drilled out bottom skin holes to proper size. Installed Inboard Nose Skin (75W5-1) and Outboard Nose Skin (75W5-2) and clecoed in place. Drilled out the rib and spar line holes to the proper size. Installed the Inboard Trailing Edge Skin (75W6-3) and the Outboard Trailing Edge Skin (75W6-4) and clecoed in place. Drilled out the holes in the edge of the trailing edge spar to the proper size. Placed Flaperon Brackets in place, clecoed them to the Wing Skeleton and drilled holes in the Flaperon "L" Brackets. Total Time = 6 hours.


Drilling out holes to proper size

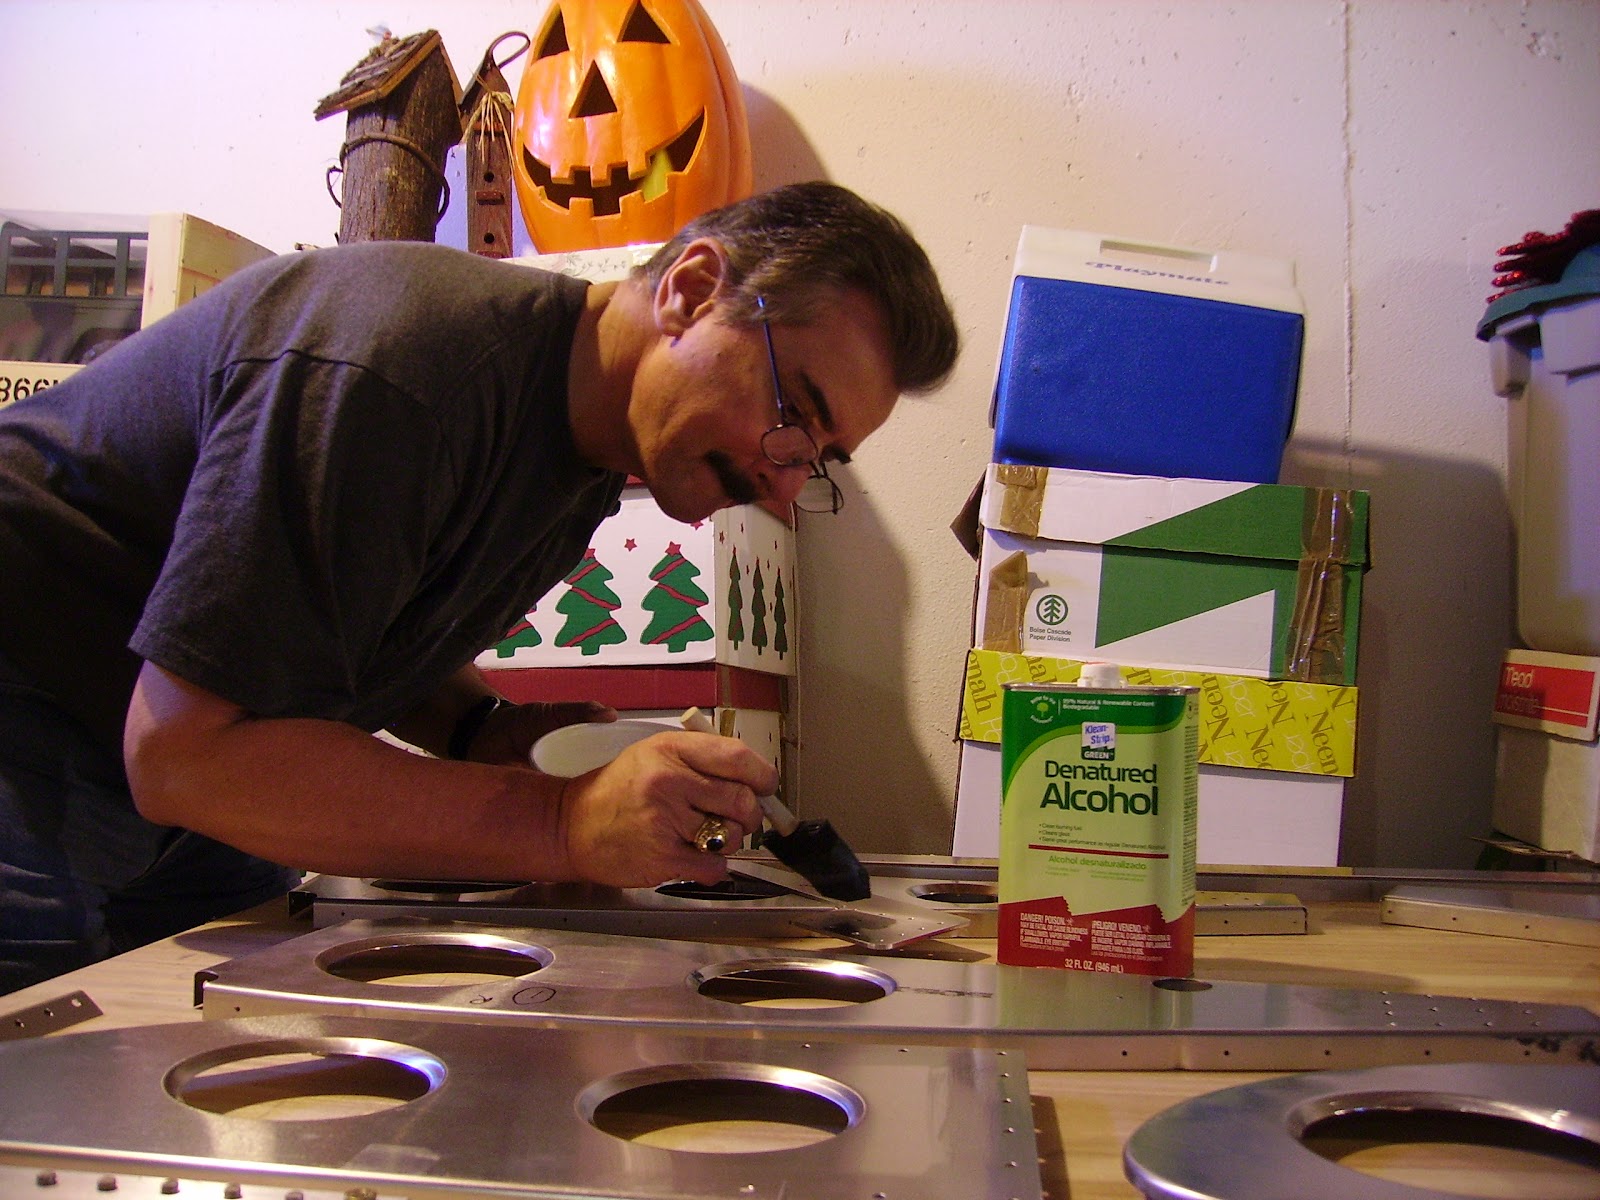
 4/21/12 - Deburred the training edge skins and set them aside. Deburred the top part of the bottom skins. Total Time = 2 hours.


Deburring Bottom of Wing Skeleton

4/28/12 - Deburred the bottom part of the bottom skins and the "L" Angles that fit between the rear ribs. Deburred the Trailing Edge Spar, the Leading Edge Spar and the bottom part of the Ribs. Total Time = 4 hours.


Applying Anti-Corrosion Material


4/29/12 - Removed all labels and cleaned surfaces with laquer thinner. Coated all surfaces with Cortec anticorrosion material. Reasembled the wing assembly with the bottom skins, the nose skins and the training edge skins. Drilled holes in the bottom skins and the strut brackets for installation of the strut brackets to the bottom of the wing. Strut brackets to be riveted at a later time. Total Time = 7 hours.


Bottom Skins Loaded with Rivets

5/5/12 - Removed the strut brackets and deburred, cleaned the surfaces and coated with cortec anti-corrosion material. Installed rivets in drilled holes and riveted all bottom skins to the bottom of the wing. Installed the flaperon brackets with clecoes. Total time = 8 hours.


Riveting the Bottom Skin

Bottom Skin Riveted


Clecoing Flaperon Brackets in Place

5/6/12 - Installed "L" Angles to the top wing skins and clecoed in place. Also clecoed outboard top skin (75W5-4) in place and then drilled holes in top skin to proper size. Total time = 2 hours.


Adding the Outboard Top Skin

5/12/12 - Placed the Tank Cover (75W5-3) on skeleton and clecoed. Drilled out holes to proper size. Measured trailing edge to 70 mm to the Flaperon Arm and then drilled into trailing edge and clecoed trailing edge in place. Total Time = 5 Hours.

Tank Cover in Place

5/12/12 - Drilled leading edge of top skin, clecoed and then removed them. Pulled Leading edge into place with straps and clecoed skin in place. Drilled out remaining holes to proper size. Total Time = 4 Hours.


Dilling into Leading Edge

Final Holes Drilled and Clecoed

Ready to Loosen Straps

5/19/12 - Removed all skins, deburred holes in skeleton and top skin. Also riveted Flaperon Brackets in place. Total Time = 3 hours.


Riveting Flaperon Brackets.

5/19/12 - Cleaned all surfaces and applied anti-corrosion material. Also riveted Rear Attach Bracket. Total Time = 3 hours.


Riveting Rear Attach Bracket

 5/20/12 - Installed Pitot Tube (75W6-9) to the bottom skin of the wing after drilling a large hole that I could fit the Pitot Tube through. Clecoed Pitot Tube in place after drilling holes. Total Time = 2 hours.


Pitot Tube Clecoed in Place

5/26/12 - Cut the plastic tube and attached the Pitot Tube and then tie wrapped the Pitot and Static plastic tubes together. Drilled holes in the rear spar and routed tubes to the root end of the wing. Total Time = 2 hours.


Pitot Tube Routing

5/27/12 - Fitted the Left Wing Tank (75K1-1) into the left wing and clecoed the Fuel Channel (75K1-2) to the bottom skin. Total Time = 2 hours.


Fuel Tank Fitted into Place
 
5/27/12 - Cut a hole in the side of the fuel tank with a fly cutter for the Fuel Sender Unit (226-451D) to fit into. Total Time = 4 hours.


Hole Cut for Sender Unit

5/27/12 - Cut cork to proper size and applied to the Fuel Tank so the tank wouldn't touch the wing skeleton or wing skin at any point. Total Time = 3 hours.

Cork Added to Fuel Tank

5/28/12 - Cut 2 pieces of "L" angle 113 mm long, trimmed the corners, drilled holes in the "L" angles and riveted them to the Fuel Channel. Drilled holes into the ribs and clecoed the Fuel Channel into place inside the wing. Total Time = 4 hours.


Fuel Tank & Channel in Place

6/2/12 - Cut an "L" angle to 255 mm, layed out a center line on the "L" angle, drilled holes on the center line and riveted it to wing tip. Cut a 50 mm "L" angle, drilled holes and riveted it to the rear channel on the wing tip. Total Time = 1 hour.


Adding the "L" Angles to the Wing Tip

6/2/12 - Bent Sender Unit Arm to the proper angle and installed sender unit into the fuel tank with gaskets and associated hardware. Total Time = 3 hours.


Sender Unit Wire Bent to Proper Angle


6/2/12 - Pulled Wing Nose Skins back in place with straps. Fitted Wing Tip (75W6-8), drilled holes and clecoed in place. Total Time = 3 hours.


Wing Tip Added

6/2/12 - Flattened end of Wing Root Angle (75W6-5) and used a fluting pliers to put crimps on the Wing Root Angle to match the curvature of the Root Rib. Clecoed Nose Rib (75W4-1) in place and then riveted to the wing skeleton. Drilled, clecoed and riveted the Root Rib Doubler (75W4-3). Total Time = 4 hours.


Nose Rib & Doubler Riveted in Place

6/3/12 - Installed Rib Root Top Skin (75W5-5) and clecoed in place. Wrapped the remaining skin around the Root Rib and drilled holes to proper size and clecoed in place. Total Time = 4 hours.


Root Rib Top Skin in Place

6/9/12 - Drilled holes in the Wing Tip for the installation of the Aero LED Nav/Strobe Light. Glued gasket in place on the base of the light and attached the bracket to the wing tip using associated hardware. Total Time = 3 hours.


Nav/Strobe Light Bracket Attached to the Wing Tip

6/17/12 - Ran 2 pair 22 gauge shielded wire from the root end of the wing to the wing tip for the Nav/Strobe light. Also ran 2 pair 22 gauge shielded wire from the root end of the wing to the wing tip for the Landing Lights that are mounted on the Leading Edge Slat which will be installed later. Total Time = 1 hour.

2 Pair Shielded Wire Run for Nav/Strobe & Landing Lights

7/15/12 - Clecoed nose skin and top skin in place, transfered left wing assembly to storage position on wall of garage. I will complete assembly later. Cleaned up garage and postioned saw horses to begin assembly of right wing. Total Time = 4 hours.


Hung Left Wing on Garage Wall
10/28/12 - Left Wing is off the wall and back on the sawhorses.Unriveted the old Root Rib and installed the new Root Rib with clecos. Installed the new Root Nose Skin . Total Time = 4 Hours.


New Root Rib with New Nose Skin
11/3/12 - Fitted Root Nose Skin and drilled holes to proper size, then disassembled. Total Time = 2 hours.

Plug Installed in Gas Tank
11/11/12 - Deburred, cleaned all parts and applied anti-corrosion Cortec. Installed the plug in the gas tank return opening. Installed the new root rib and riveted it in place. Added cork strips to the top of the gas tank. Total Time = 5 hours.

Cork added to Top of Tank
11/17/12 - Drilled out holes in the rear spar for the fuel supply hose grommet. and the sender unit wire grommet. Installed Nav/Strobe light in the wing tip and connected wires. Ran wires for Nav/Strobe and Landing Lights and installed cable clamps down the rear spar area to the inboard side of the wing. Installed wiring for the fuel tank and prepared for final assembly of the wing. Total Time = 9 hours.

Grommet Holes Drilled
11/18/12 - Measured the Strut Fitting Bracket and trimmed it down to fit the curvature of the Strut Bracket. Installed the Strut Fitting Bracket and and riveted in place. Riveted the Jury Strut angles in place on the bottom of the wing. Completed riveting the rest of the Left Wing. Total Time = 9 hours.


Strut Bracket Bolted Down

Completing the Riveting

Completed Left Wing
 Left Wing Total Assembly Time = 135 Hours.

Both Wings Completed and Hanging on Garage Wall


Friday, April 13, 2012

Fuselage - Firewall

Firewall (I am assembling the Firewall in the basement while waiting for the temperature to warm up enough in the garage to begin working there.)

Cleoing Parts in Place
3/10/12 -   Trimmed the ends of the Firewall Rear Reinforcement (75F8-5) and clecoed to the Firewall (75F8-1). Clecoed the Firewall Top Stiffener (75F8-4) and the Center Firewall Stiffener (75F9-4) to the Firewall. Cut "L" angle to 520mm and placed on firewall, drilled and clecoed in place. Placed Upper Firewall Channel (75F9-7) on firewall, drilled and clecoed in place. Total Time = 4 hours.

Most Parts Installed
 3/11/12 - Placed Forward Gusset (75F9-7) and Upper Angle (75F9-2) on the top stiffener, drilled and clecoed in place. Trimmed upper angle around hole in the top stiffener. Trimmed Upper Rear Bearing (75F9-6) and drilled bearing holes to 3/16". Clecoed bearing in place. Trimmed Firewall Side Stiffener (75F8-3), drilled and clecoed in place. Clamped Gear Gusset (75F9-3) in place, drilled and clecoed in place. Installed the Center Firewall Doubler (75F9-5), drilled and clecoed in place. Removed the Center Firewall Assembly and drilled the Bungee Pin Hole to 5/8" diameter. Installed Slide Cover (75F8-8), drilled and clecoed in place. Total Time = 9 hours.

All Parts Installed
3/24/12 - Installed Side Braces (75F8-6), drilled and clecoed in place. Installed Sidewall Bottom Stiffener (75F8-2), drilled and clecoed in place. Cut "L" Angle to 543mm, trimmed, drilled and clecoed in place. Drilled all holes to proper size in Firewall Assembly after marking them with the correct size according to plans. Counter sunk holes for Bungee Pin rivets. Removed all parts, deburred, cleaned and prepared for corrosion protection. Total Time = 7 hours.

Parts Ready For Painting
3/25/12 - Moved firewall parts to the garage and laid them out on cardboard. Spray painted parts with corrosion protection. Clecoed all parts back together according to the plans and prepared for riveting. Riveted all firewall parts together with proper size rivets. Total Time = 9 hours.

Adding Corrosion Protection
 
All Riveted Together
Total Firewall Assembly Time = 29 Hours.

Friday, February 24, 2012

Landing Lights

Left Landing Light

2/12/12 - Assembled mounting hardware including riveting nut plates to mounting bracket and installed LED light assembly to bracket. Marked placement of landing light assembly on Left Leading Edge Slat. Cut opening in slat with aluminum knife, rounded corners and cleaned up edges with a file. Total Time = 8 hours.

Landing Light with Bracket and Opening Cut in Slat
2/19/12 - Drilled rivet holes in light mounting bracket and placed assembly inside the leading edge slat. Marked proper placement of landing light rivet holes in the slat skin. Drilled holes in the skin and clecoed LED Landing Light assembly in place. Total Time = 5 hours.


Landing Light Clecoed in Place
Total Landing Light Assembly Time = 13 Hours.

Friday, February 10, 2012

Wing Skeletons - Left & Right

Skeleton

Left Wing Skeleton

1/21/12 - Cut (4) pieces of "L" Angle to 120mm long and drilled stress relief holes so that notches could be cut in the "L" angle flange at 20, 16, 19, 16, 16 and 33mm distances. Bent "L" angles to match curvature of the Nose Rib (75W1-1SB). Drilled holes through flanges and the Slat Supports (75W3-6). Removed clecoes, deburred parts, cleaned metal and added anti-corrosion material. Reassembled parts and riveted together with A4 rivets. Total Time = 5 hours.

Completed Left Nose Rib Assemblies
1/22/12 - Assembled the left wing skeleton using clecoes to attach the Wing Spar (75W2), Wing Tank Rear Rib (75W1-2K), Wing Rear Rib (75W1-2FB), Wing Rear Rib (75W1-2), Wing Nose Rib (75W1-1), Nose Rib (75W1-SB), Root Rear Rib (75W4-2) and the Tie Down Ring (75W6-7). Drilled holes to proper size. Total Time = 3 hours.

Drilling into Wing Spar
1/28/12 - Assembled the I/B Rear Channel (75W4-3), the O/B Rear Channel (75W4-4), the Rear Channel Doubler (75W4-3) and the Rear Upper Strut Fitting (75W3-3) together with clecoes. Installed the Rear Root Doubler (75W3-4), the Left Rear Channel Doubler (75W4-6), the Root Rib (75W4-2), the Spar Tip (75W3-2), the Flaperon Brackets (75W3-5) and the Flaperon Bracket "L" Angles together with clecoes and drilled holes to proper hole size. Disassembled skeleton, deburred, cleaned metal and applied corrosion protection. Placed parts in a box for assembly at a later time. Total Time = 10 hours.


Laying Out the Wing Skeleton for Deburring 

Right Wing Skeleton

1/29/12 - Cut (4) pieces of "L" Angle to 120mm long and drilled stress relief holes so that notches could be cut in the "L" angle flange at 20, 16, 19, 16, 16 and 33mm distances. Bent "L" angles to match curvature of the Nose Rib (75W1-1SB). Drilled holes through flanges and the Slat Supports (75W3-6). Removed clecoes, deburred parts, cleaned metal and added anti-corrosion material. Reassembled parts and riveted together with A4 rivets. Total Time = 7 hours.

Right Wing Skeleton
2/04/12 - Assembled the right wing skeleton using clecoes to attach the Wing Spar (75W2), Wing Tank Rear Rib (75W1-2K), Wing Rear Rib (75W1-2FB), Wing Rear Rib (75W1-2), Wing Nose Rib (75W1-1), Nose Rib (75W1-SB), Root Rear Rib (75W4-2) and the Tie Down Ring (75W6-7). Drilled holes to proper size. Total Time = 5 hours.

Deburring Wing Spar
2/5/12 - Assembled the I/B Rear Channel (75W4-3), the O/B Rear Channel (75W4-4), the Rear Channel Doubler (75W4-3) and the Rear Upper Strut Fitting (75W3-3) together with clecoes. Installed the Rear Root Doubler (75W3-4), the Right Rear Channel Doubler (75W4-6), the Root Rib (75W4-2), the Spar Tip (75W3-2), the Flaperon Brackets (75W3-5) and the Flaperon Bracket "L" Angles together with clecoes and drilled holes to proper hole size. Disassembled skeleton, deburred, cleaned metal and applied corrosion protection. Placed parts in a box for assembly at a later time. Total Time = 4 hours.

Adding Corrosion Protection

 Total Wing Skeleton Assembly Time = 34 Hours.

Friday, December 2, 2011

Slats

Right Inboard Slat

Slat Rib

Ribs Clecoed to Skin
 11/19/11 - Installed Corner Doubler (75S1-6) inside Inboard Slat Skin (75S1-2) and clecoed in place. Drilled out holes with #40 drill bit. Cut "L" angle to 120 mm, drilled holes at 50 mm and 85 mm and then cut flange to holes. Bent "L" angle and clecoed with Slat Support (75S1-4) to Slat Rib (75S1-SS). After deburring and applying corrosion protection, riveted rib together. Clecoed ribs to bottom of slat skin and drilled to proper size. Removed parts, deburred, cleaned and applied corrosion protection. Reassembled parts and pushed bottom of skin inside the top of the skin and clecoed ribs to the skin. drilled holes to proper size and then removed parts, deburred, cleaned and applied corrosion protection. Total time = 10 hrs.


Slat Skin Clecoed Together
11/20/11 - Reassembled parts and clecoed ribs to the skin. Riveted the ribs to the slat skin and then finished riveting remaining skin together. Total time = 1 hr.

Riveting Slat Together
11/27/11 - Cut out the Fiberglass Slat Tip (75S1-5) and clecoed tip into the inboard end of the right inboard slat. Drilled holes into slat tip to the proper size and riveted tip into place. Total time = 2 hrs. 


Slat Tips
 

Finished Inboard Slat
 Total Assembly Time = 13 Hours.

Right Outboard Slat


Deburring Holes Inside Skin

1/14/12 - Installed Corner Doubler (75S1-6) inside Outboard Slat Skin (75S1-3) and clecoed in place. Drilled out holes with #40 drill bit. Cut "L" angle to 120 mm, drilled holes at 50 mm and 85 mm and then cut flange to holes. Bent "L" angle and clecoed with Slat Support (75S1-4) to Slat Rib (75S1-SS). After deburring and applying corrosion protection, riveted rib together. Clecoed ribs to bottom of slat skin and drilled to proper size. Removed parts, deburred, cleaned and applied corrosion protection.
Reassembled parts and pushed bottom of skin inside the top of the skin and clecoed ribs to the skin. drilled holes to proper size and then removed parts, deburred, cleaned and applied corrosion protection. Reassembled parts and clecoed ribs to the skin. Riveted the ribs to the slat skin and then finished riveting remaining skin together.


Riveting Skin Together
Cut out the Fiberglass Slat Tip (75S1-5) and placed tip into the inboard end of the right outboard slat to be riveted later after installing landing lights.

Finished Right Outboard Slat

 Total Assembly Time = 8 Hours.

Left Inboard Slat


Ribs Riveted to Skin

 1/15/12 - Installed Corner Doubler (75S1-6) inside Inboard Slat Skin (75S1-2) and clecoed in place. Drilled out holes with #40 drill bit. Cut "L" angle to 120 mm, drilled holes at 50 mm and 85 mm and then cut flange to holes. Bent "L" angle and clecoed with Slat Support (75S1-4) to Slat Rib (75S1-SS). After deburring and applying corrosion protection, riveted rib together. Clecoed ribs to bottom of slat skin and drilled to proper size. Removed parts, deburred, cleaned and applied corrosion protection. Reassembled parts and pushed bottom of skin inside the top of the skin and clecoed ribs to the skin. drilled holes to proper size and then removed parts, deburred, cleaned and applied corrosion protection.


Drilling Holes to #40 Size

Reassembled parts and clecoed ribs to the skin. Riveted the ribs to the slat skin and then finished riveting remaining skin together.


Adding the Fiberglass Tip
Cut out the Fiberglass Slat Tip (75S1-5) and clecoed tip into the inboard end of the right inboard slat. Drilled holes into slat tip to the proper size and riveted tip into place.

Total Assembly Time = 7 Hours.

Left Outboard Slat


Deburring Holes in Doubler

1/16/12 - Installed Corner Doubler (75S1-6) inside Outboard Slat Skin (75S1-3) and clecoed in place. Drilled out holes with #40 drill bit. Cut "L" angle to 120 mm, drilled holes at 50 mm and 85 mm and then cut flange to holes. Bent "L" angle and clecoed with Slat Support (75S1-4) to Slat Rib (75S1-SS). After deburring and applying corrosion protection, riveted rib together. Clecoed ribs to bottom of slat skin and drilled to proper size. Removed parts, deburred, cleaned and applied corrosion protection.
Reassembled parts and pushed bottom of skin inside the top of the skin and clecoed ribs to the skin. drilled holes to proper size and then removed parts, deburred, cleaned and applied corrosion protection. Reassembled parts and clecoed ribs to the skin. Riveted the ribs to the slat skin and then finished riveting remaining skin together.

Total Assembly Time = 7 Hours.

Final Riveting
Cut out the Fiberglass Slat Tip (75S1-5) and placed tip into the inboard end of the right outboard slat to be riveted later after installing landing lights


All Four Slats Completed!
 Total Slat Assembly Time = 35 Hours.

Friday, November 4, 2011

Flaperons

Right Inboard Flaperon

10/27/11 - Clecoed Flaperon Rear Ribs (75A1-3) and Flaperon Nose Ribs (75A1-2) to the Right Inboard Flaperon Spar (75A1-4). Drilled and attached hinge brackets to the spar with clecoes. Removed all parts, deburred, cleaned and coated parts with anti-corrosion material. Total time = 3 hrs.

Rear Ribs & Nose Ribs Clecoed to Spar
10/29/11 - Reassembled Flaperon Skeleton with clecoes and then riveted all parts together. Inserted skeleton inside the Flaperon Inboard Skin (75A1-8) and drilled and clecoed the Flaperon Full Rib (75A1-1), the Rib Angle (75A2-3) and the Flaperon Root Rib (75A1-1R) to the assembly. Attached the Flaperon Control Horn (75A1-6) and the "L" Angle to the Root Rib.  Removed all parts, deburred, cleaned and applied anti-corrosion material. Total time = 9 hrs.

Drilling Holes and Adding Clecoes
10/30/11 - Reassembled Flaperon assembly with clecoes then riveted skin to the spar and the ribs using the proper sized rivets. Total time = 4 hrs.

Riveting Skin to the Spar and the Ribs

Finished Assembly
 Total Assembly Time = 16 Hours.


Another Piece of the Puzzle Completed

Right Outboard Flaperon


Skeleton Clecoed
11/3/11 - Clecoed Flaperon Rear Ribs (75A1-3) and Nose Ribs (75A1-4) to the Right Flaperon Outboard Spar (75A1-5). Drilled and attached Hinge Brackets (75A2-1) to the spar with clecoes. Removed all parts from the spar, deburred, cleaned and coated parts with Cortec anti-corrosion material. Total Time = 3 hrs.


Riveting Skeleton Together
 11/4/11 - Reassembled skeleton with clecoes and then riveted the nose rib, rear rib and hinge bracket to the Flaperon Outboard Spar. Total Time = 2 hrs.


Drilling Holes in Skin
11/5/11 - Inserted the skeleton inside the Outboard Flaperon Skin (75A1-9) and clecoed the bottom to the spar and ribs. Expanded the holes with a #30 drill and clecoed together. Drlled and clecoed the Flaperon Full Rib (75A1-1) and Rib Angle (75A2-3) to the spar and skin. Disassembled all parts, deburred, cleaned and coated with Cortec ant-corrosion primer. Reassembled all parts with clecoes and riveted them together. Drilled and clecoed the Flaperon Tip (75A2-4), fitted it inside the skin and then riveted in place. Total Time = 8 hrs.


Finished Outboard Flaperon with Flaperon Tip

Total Assembly Time = 13 Hours


Another Milestone!
Left Inboard Flaperon

11/10/11 - Clecoed the Flaperon Rear Ribs (75A1-3) to the Left Inboard Spar (75A1-4). Clecoed the Flaperon Nose Ribs (75A1-2) to the Inboard Spar. Drilled and attached Hinge Brackets (75A2-1) to the spar with clecoes. Removed all parts from the spar, deburred, cleaned and coated parts with Cortec anti-corrosion. Total time = 3 hrs.

Drilling Holes Into Skin
11/11/11 - Reassembled skeleton and riveted the nose ribs, rear ribs and hinge brackets to the inboard spar. Inserted the skeleton inside the Inboard Skin (75A2-3). Attached the Flaperon Full Rib (75A1-1), Rib Angle (75A2-3), Control Horn (75A1-6), Root Rib (75A1-1R) and "L" Angle. Drilled Holes to proper size then disassembled, deburred, cleaned and added corrosion protection. Total Time = 5 hrs.

Clecoed Flaperon Bottom Skin
 11/12/11 - Inserted Skeleton inside the Inboard Skin and riveted the Rib Angle, Control Horn and "L" Angle to the skeleton and skin. Pulled the nose skin over and clecoed in place and completed riveting of the skin to the skeleton. Cleaned up work table. Total Time = 4 hrs.

Total Assembly Time = 12 Hours.

Left & Right Inboard Flaperons
Left Outboard Flaperon
I finally broke down and purchased a cart from Harbour Freight to hold the collection of tools I had accumulated. (See following picture)

Finished Skeleton
 11/12/11 - Clecoed the Flaperon Rear Ribs (75A1-3), Nose Ribs (75A1-2) and Hinge Brackets (75A2-1) to the Left Outboard Spar (75A1-5). Removed all parts, deburred, cleaned and coated with Cortec Anti-corrosion material. Total Time = 3 hrs.

Deburring and Cleaning Parts
11/13/11 - Reassembled skeleton and riveted the Nose Ribs, Rear Ribs and Hinge Brackets to the Outboard Spar. Inserted the skeleton inside the Outboard Flaperon Skin (75A1-9) and drilled and clecoed the Full Rib and Rib Angle to the spar and then drilled and clecoed the skin to the skeleton. Removed all parts, deburred, cleaned and coated with anti-corrosion material. Total Time = 4 hrs.


Riveting Skin
11/14/11 - Reinserted skeleton inside the skin and riveted the skin to the skeleton. Dilled and clecoed the Flaperon Tip (75A2-4), fitted inside the skin and riveted in place. Total Time = 2 hrs.

Total Assembly Time = 10 Hours.

Completed Left & Right Flaperons
 Total Flaperon Assembly Time = 51 Hours